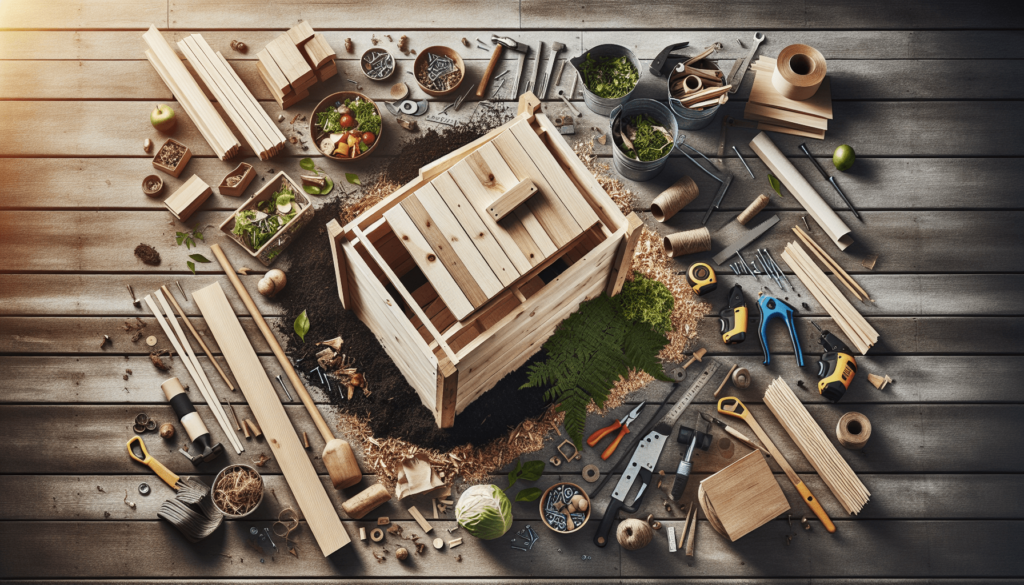
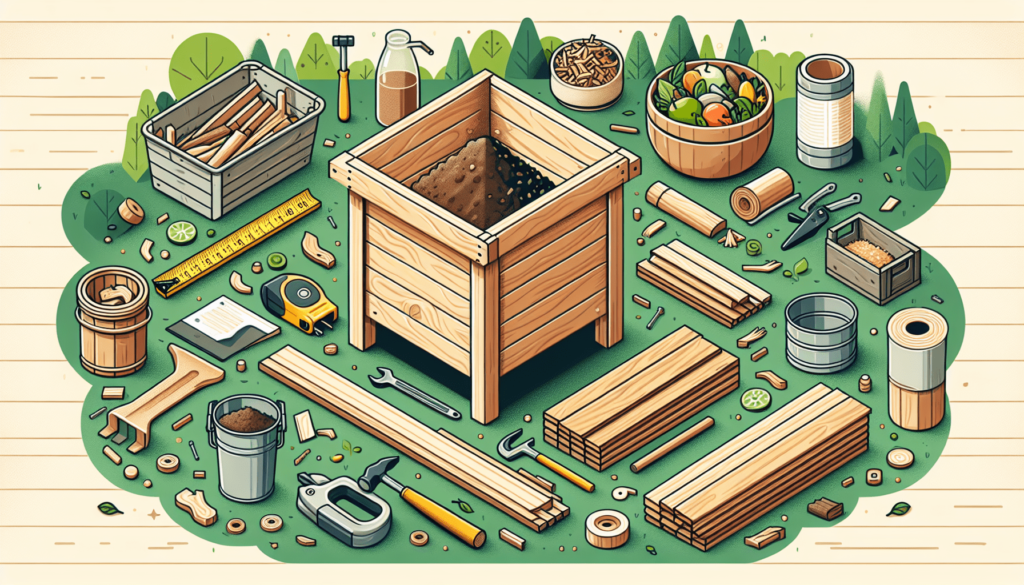
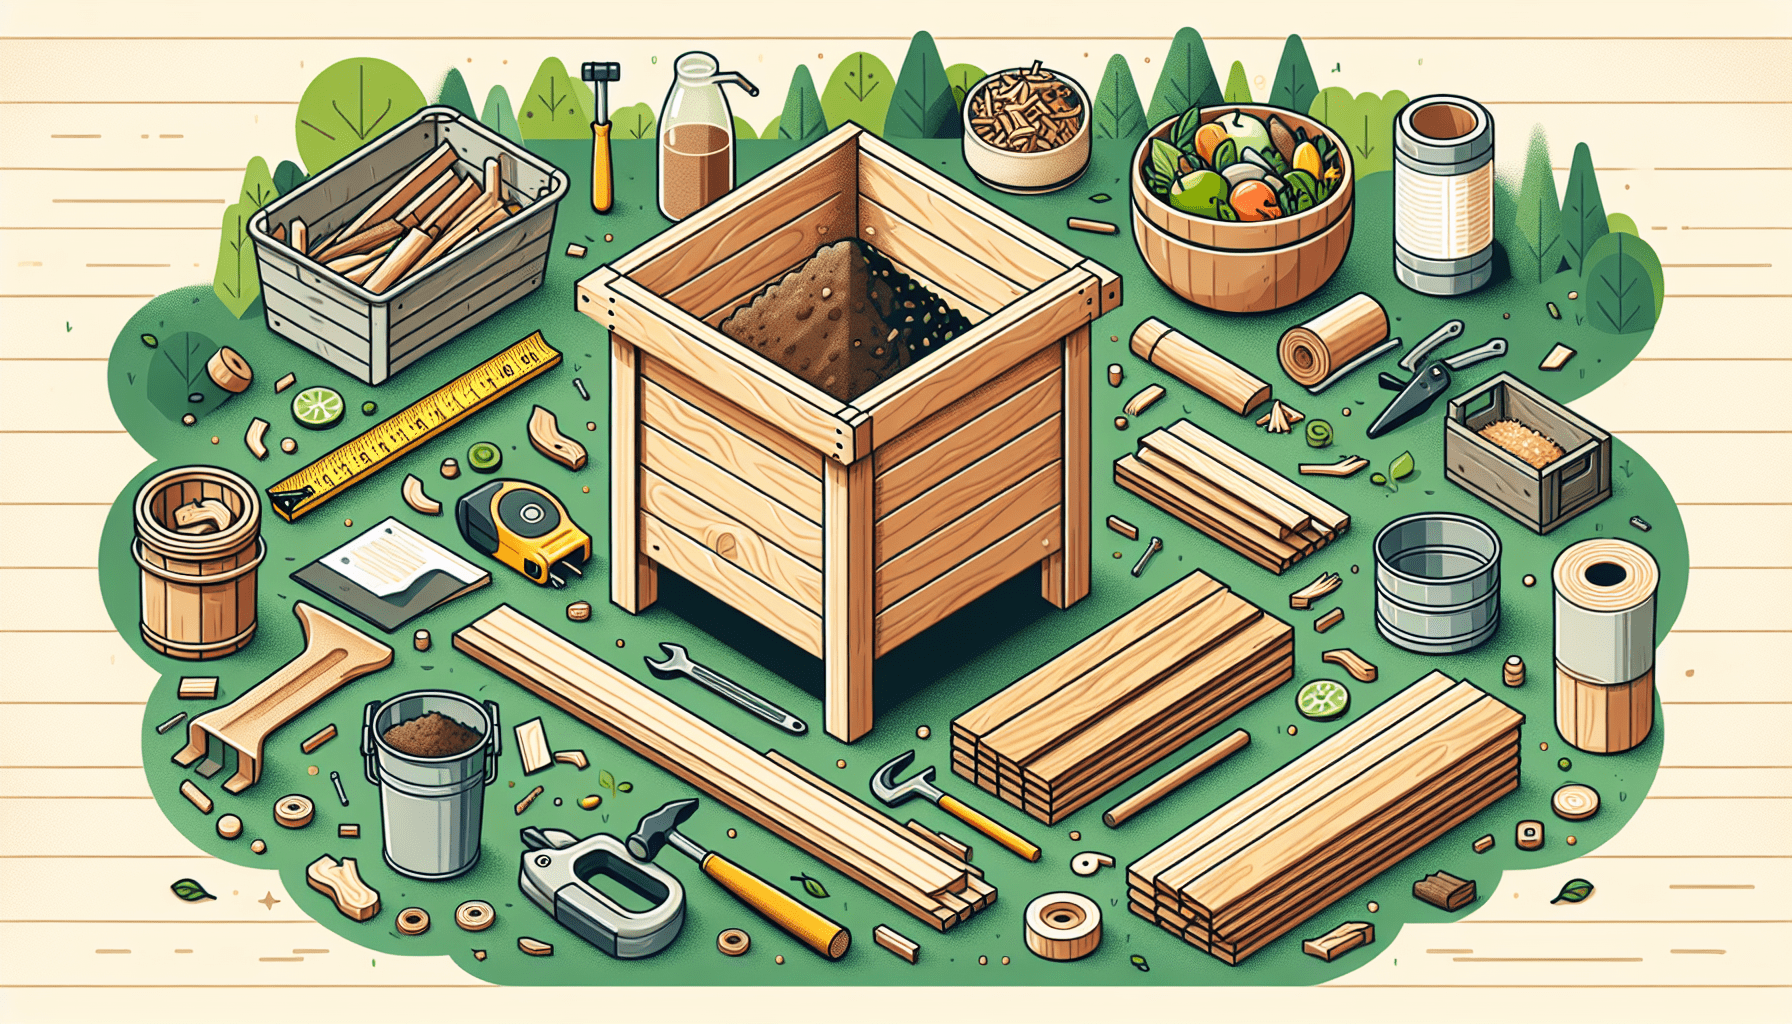
Are you interested in composting but unsure of where to start? Look no further! In this step-by-step guide, you will learn how to build your very own DIY compost bin. It’s easier than you think, and with just a few simple materials and a little bit of time, you’ll be on your way to creating nutrient-rich compost for your garden. Let’s get started!

Materials Needed
To build your own DIY compost bin, you will need the following materials:
Wooden Pallets
Wooden pallets are an essential component for constructing the frame of your compost bin. Make sure to choose sturdy and durable pallets.
Galvanized Screws
Galvanized screws are used to secure the pallets together, ensuring the stability and strength of the compost bin.
Power Drill
A power drill will be necessary to attach the pallets and other components securely.
Plywood
Plywood will be used to create the lid of the compost bin, providing easy access to the compost pile while keeping unwanted pests out.
Hardware Cloth
Hardware cloth is essential for creating ventilation and moisture flow within the compost bin.
Hinges
Hinges are needed to attach the lid to the compost bin, allowing for easy opening and closing.
Door Latch
A door latch will help keep the compost bin securely closed, preventing animals from accessing the compost pile.
Saw
A saw will be required to cut the wooden pallets and plywood to the desired sizes.
Measuring Tape
A measuring tape will ensure accurate measurements when cutting the materials and assembling the compost bin.
Gloves
Gloves are necessary to protect your hands during the construction process and when handling the compost materials.
Choosing the Right Location
Before starting the construction of your DIY compost bin, it’s crucial to select the right location. Consider the following factors:
Sunny Spot
Choose a sunny spot for your compost bin as sunlight helps to accelerate the decomposition process. Aim for at least 6 hours of direct sunlight per day.
Good Drainage
Ensure the chosen spot has good drainage to prevent waterlogging. Proper drainage will help maintain the ideal moisture levels for composting.
Easy Access
Select a location that is easily accessible for adding and turning the compost materials. Convenience is key when it comes to managing your compost pile.
Near a Water Source
Having a water source nearby will make it easy to maintain the moisture levels in the compost bin. Watering the compost pile occasionally may be necessary.
Preparing the Area
Before constructing the compost bin, it’s essential to prepare the area where it will be placed.
Clear Existing Vegetation
Remove any existing vegetation or grass in the chosen location for the compost bin. This will prevent competition for nutrients and ensure proper decomposition.
Level the Ground
Level the ground where the compost bin will be placed. This will provide stability and make it easier to construct the bin.
Remove Rocks and Debris
Clear the area of any rocks, debris, or other obstructions that may interfere with the construction or functioning of the compost bin.
Building the Bin Frame
Once you have prepared the area, it’s time to start building the frame of your compost bin.
Measure and Cut the Pallets
Using a measuring tape and a saw, measure and cut the pallets to the desired size for the compost bin. The standard size for each side panel is typically around 3 feet by 3 feet.
Assemble the Base
Start by assembling the base of the compost bin using the cut pallets. Use galvanized screws to secure the pallets together at the corners.
Attach the Side Walls
Once the base is secure, attach the side walls by screwing the pallets vertically to the corners of the base. Ensure they are firmly in place.
Secure the Back Panel
Attach the back panel by screwing it onto the side walls and base. This will complete the three-sided frame of the compost bin.
Add the Front Panel
To allow for easy access to the compost pile, leave the front of the bin open. However, if you prefer a closed front, secure a pallet vertically to one side of the front opening.

Adding Air and Moisture Flow
To ensure proper decomposition, it’s important to provide adequate airflow and moisture within the compost bin.
Drill Holes in the Sides and Bottom
Using a power drill, drill multiple small holes in the sides and bottom of the compost bin. These holes will allow for air circulation and drainage.
Place Hardware Cloth on the Bottom
Cover the bottom of the compost bin with hardware cloth. This will prevent rodents and other pests from accessing the compost pile, while still allowing for drainage.
Create Ventilation Gaps
To enhance airflow, create small gaps between the wooden pallets. These gaps will facilitate the circulation of oxygen, promoting the decomposition process.
Building the Lid
The lid of the compost bin is essential for easy access and to keep unwanted pests out.
Measure and Cut the Plywood
Using a measuring tape and a saw, measure and cut the plywood to fit the top of the compost bin. It should be slightly larger than the bin’s dimensions to ensure proper coverage.
Attach Hinges
Install hinges on one side of the plywood and screw them into place. The hinges will allow the lid to open and close easily.
Add a Door Latch
Attach a door latch on the opposite side of the plywood, ensuring it aligns with the front opening of the compost bin. The door latch will keep the lid securely closed.
Creating Compost Sections
Dividing the compost bin into sections can help manage different stages of decomposition and facilitate the composting process.
Divide the Bin into Two or Three Sections
Using additional pallets or wooden planks, create dividers within the compost bin. This will allow you to have separate sections for different composting materials or to manage compost at different stages.
Use Hardware Cloth as Dividers
Secure hardware cloth to the dividers, allowing air and moisture to flow freely between the sections. This will maximize decomposition and create nutrient-rich compost.
Filling the Compost Bin
Now that your compost bin is constructed, it’s time to start filling it with organic materials.
Add Brown and Green Material
For optimal composting, add a mixture of brown and green materials. Brown materials include dried leaves, shredded paper, and cardboard. Green materials include kitchen scraps, fresh grass clippings, and plant trimmings.
Layer the Ingredients
Alternate layers of brown and green materials in the compost bin. This layering promotes balanced decomposition and prevents the pile from becoming too wet or compacted.
Avoid Certain Items
Keep out meat, dairy, oily or greasy foods, and pet waste from your compost bin. These items can attract pests or introduce pathogens into the compost pile.
Maintaining the Compost
To ensure successful composting, proper maintenance is essential.
Turn the Pile
Regularly turning the compost pile with a garden fork or shovel helps to aerate the pile and accelerate decomposition. Aim to turn the pile every 1-2 weeks.
Monitor Moisture Levels
Check the moisture levels of the compost regularly. It should resemble a damp sponge. If it’s too dry, add water; if it’s too wet, add more dry brown material.
Ensure Proper Aeration
In addition to turning the pile, ensure proper aeration by regularly poking small holes into the pile with a garden fork or aerator. This promotes airflow and prevents the pile from becoming compacted.
Add Additional Material
As you generate kitchen scraps and yard waste, continue to add them to the compost bin. It’s important to maintain a balanced ratio of brown and green materials to keep the composting process active.
Harvesting and Using the Compost
After several months of decomposition, your compost will be ready to use in the garden.
Recognizing When Compost is Ready
Compost is ready to use when it becomes dark, crumbly, and has an earthy smell. It should resemble rich, nutrient-dense soil.
Screening and Storing Finished Compost
Before using the compost, you may want to screen it to remove any large undecomposed materials. Store the finished compost in a designated area or container until you are ready to use it in your garden.
Using Compost in the Garden
Apply the compost to your garden beds as a nutrient-rich soil amendment. It can be spread as a top dressing, mixed into the soil during planting, or used as a component in potting mixes. Enjoy the benefits of your homemade compost as it nourishes your plants and improves soil health.

